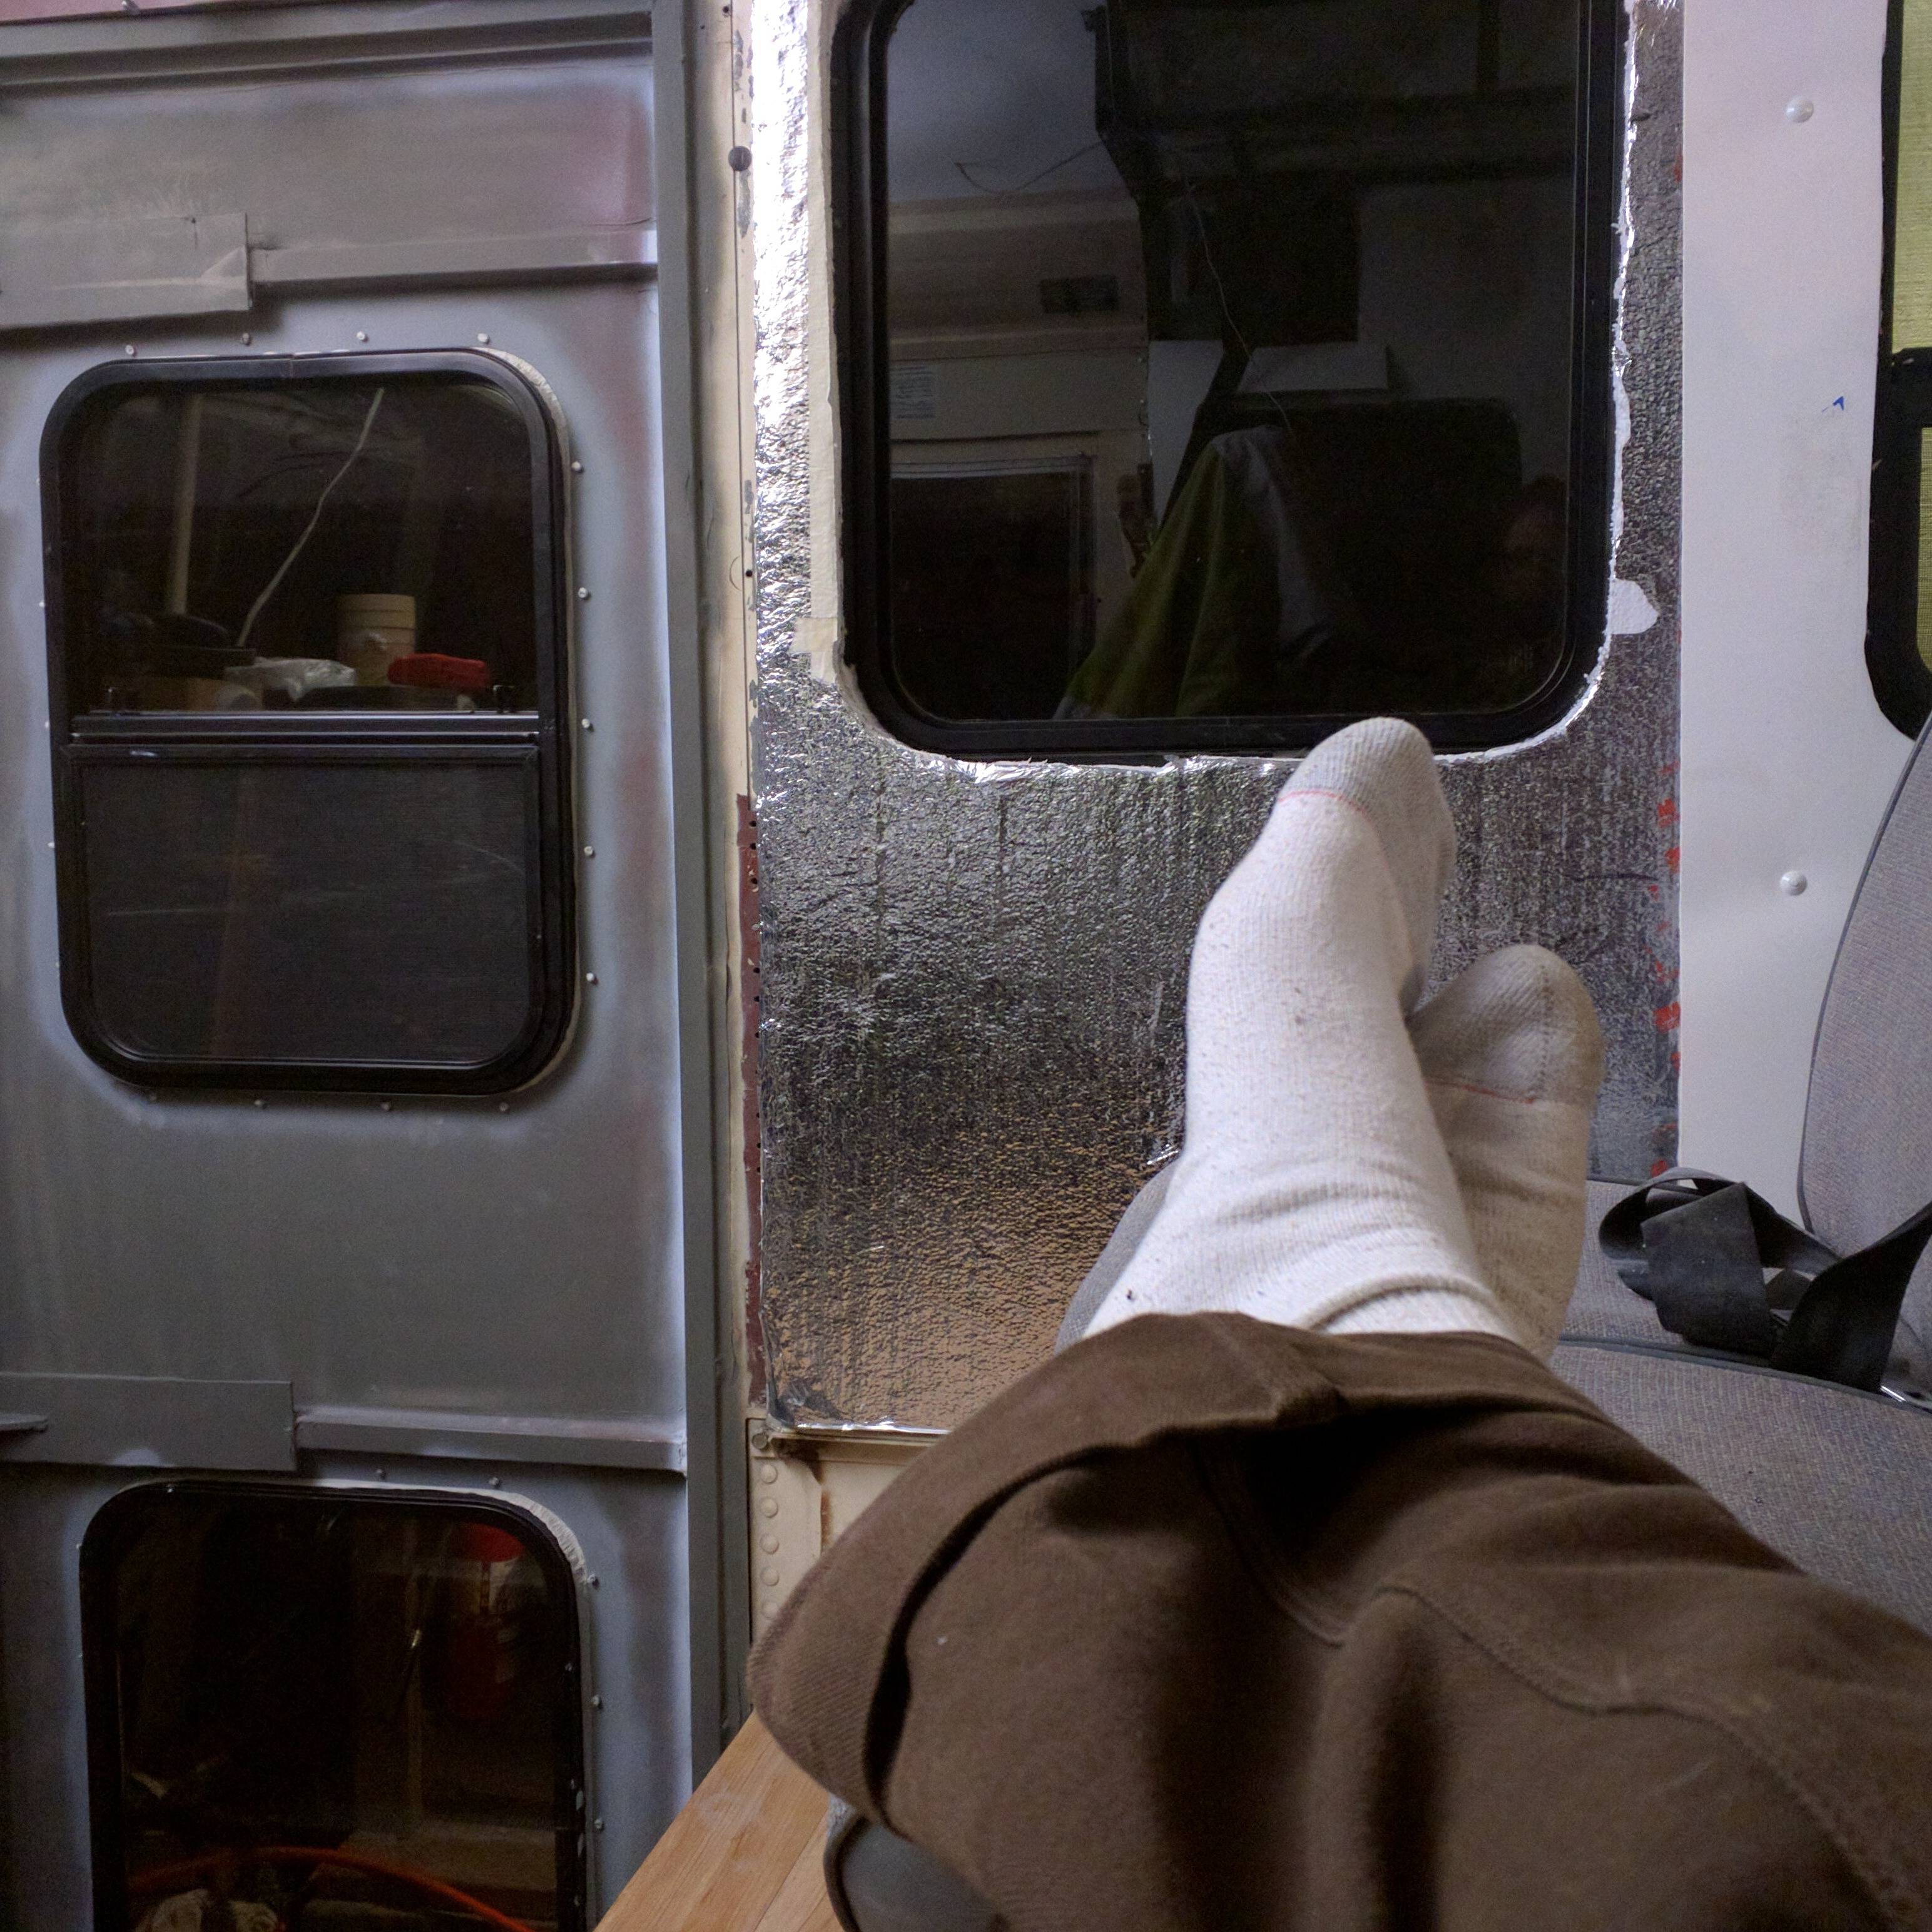
Got all the windows installed, now I’m kickin mah feet up for a few minutes. Its cozy in here, raining outside. Eventually I’ll insulate that door, but for now its fine. I think in the coming weeks I’ll get the kitchen systems built.
Basically, a couple counter height custom metal cabinets with drawers, and a full height full depth pull out pantry. If there were a reason to leave your chair rail in the bus and not destroy it, this would be a compelling reason not to.
Some window installation details

No, not that kind of windows installation.
That’s more like it.
I suppose you could buy some zero depth rings and attach to the skin directly, but it would be a disaster if you had to remove the window later (lots of interior disassembly)
This method isn’t as easy as removing the trim ring and popping the frame, but its not bad – just drill some rivets out. Matching up the old holes with a new frame might be hilarious, hopefully I never find out.
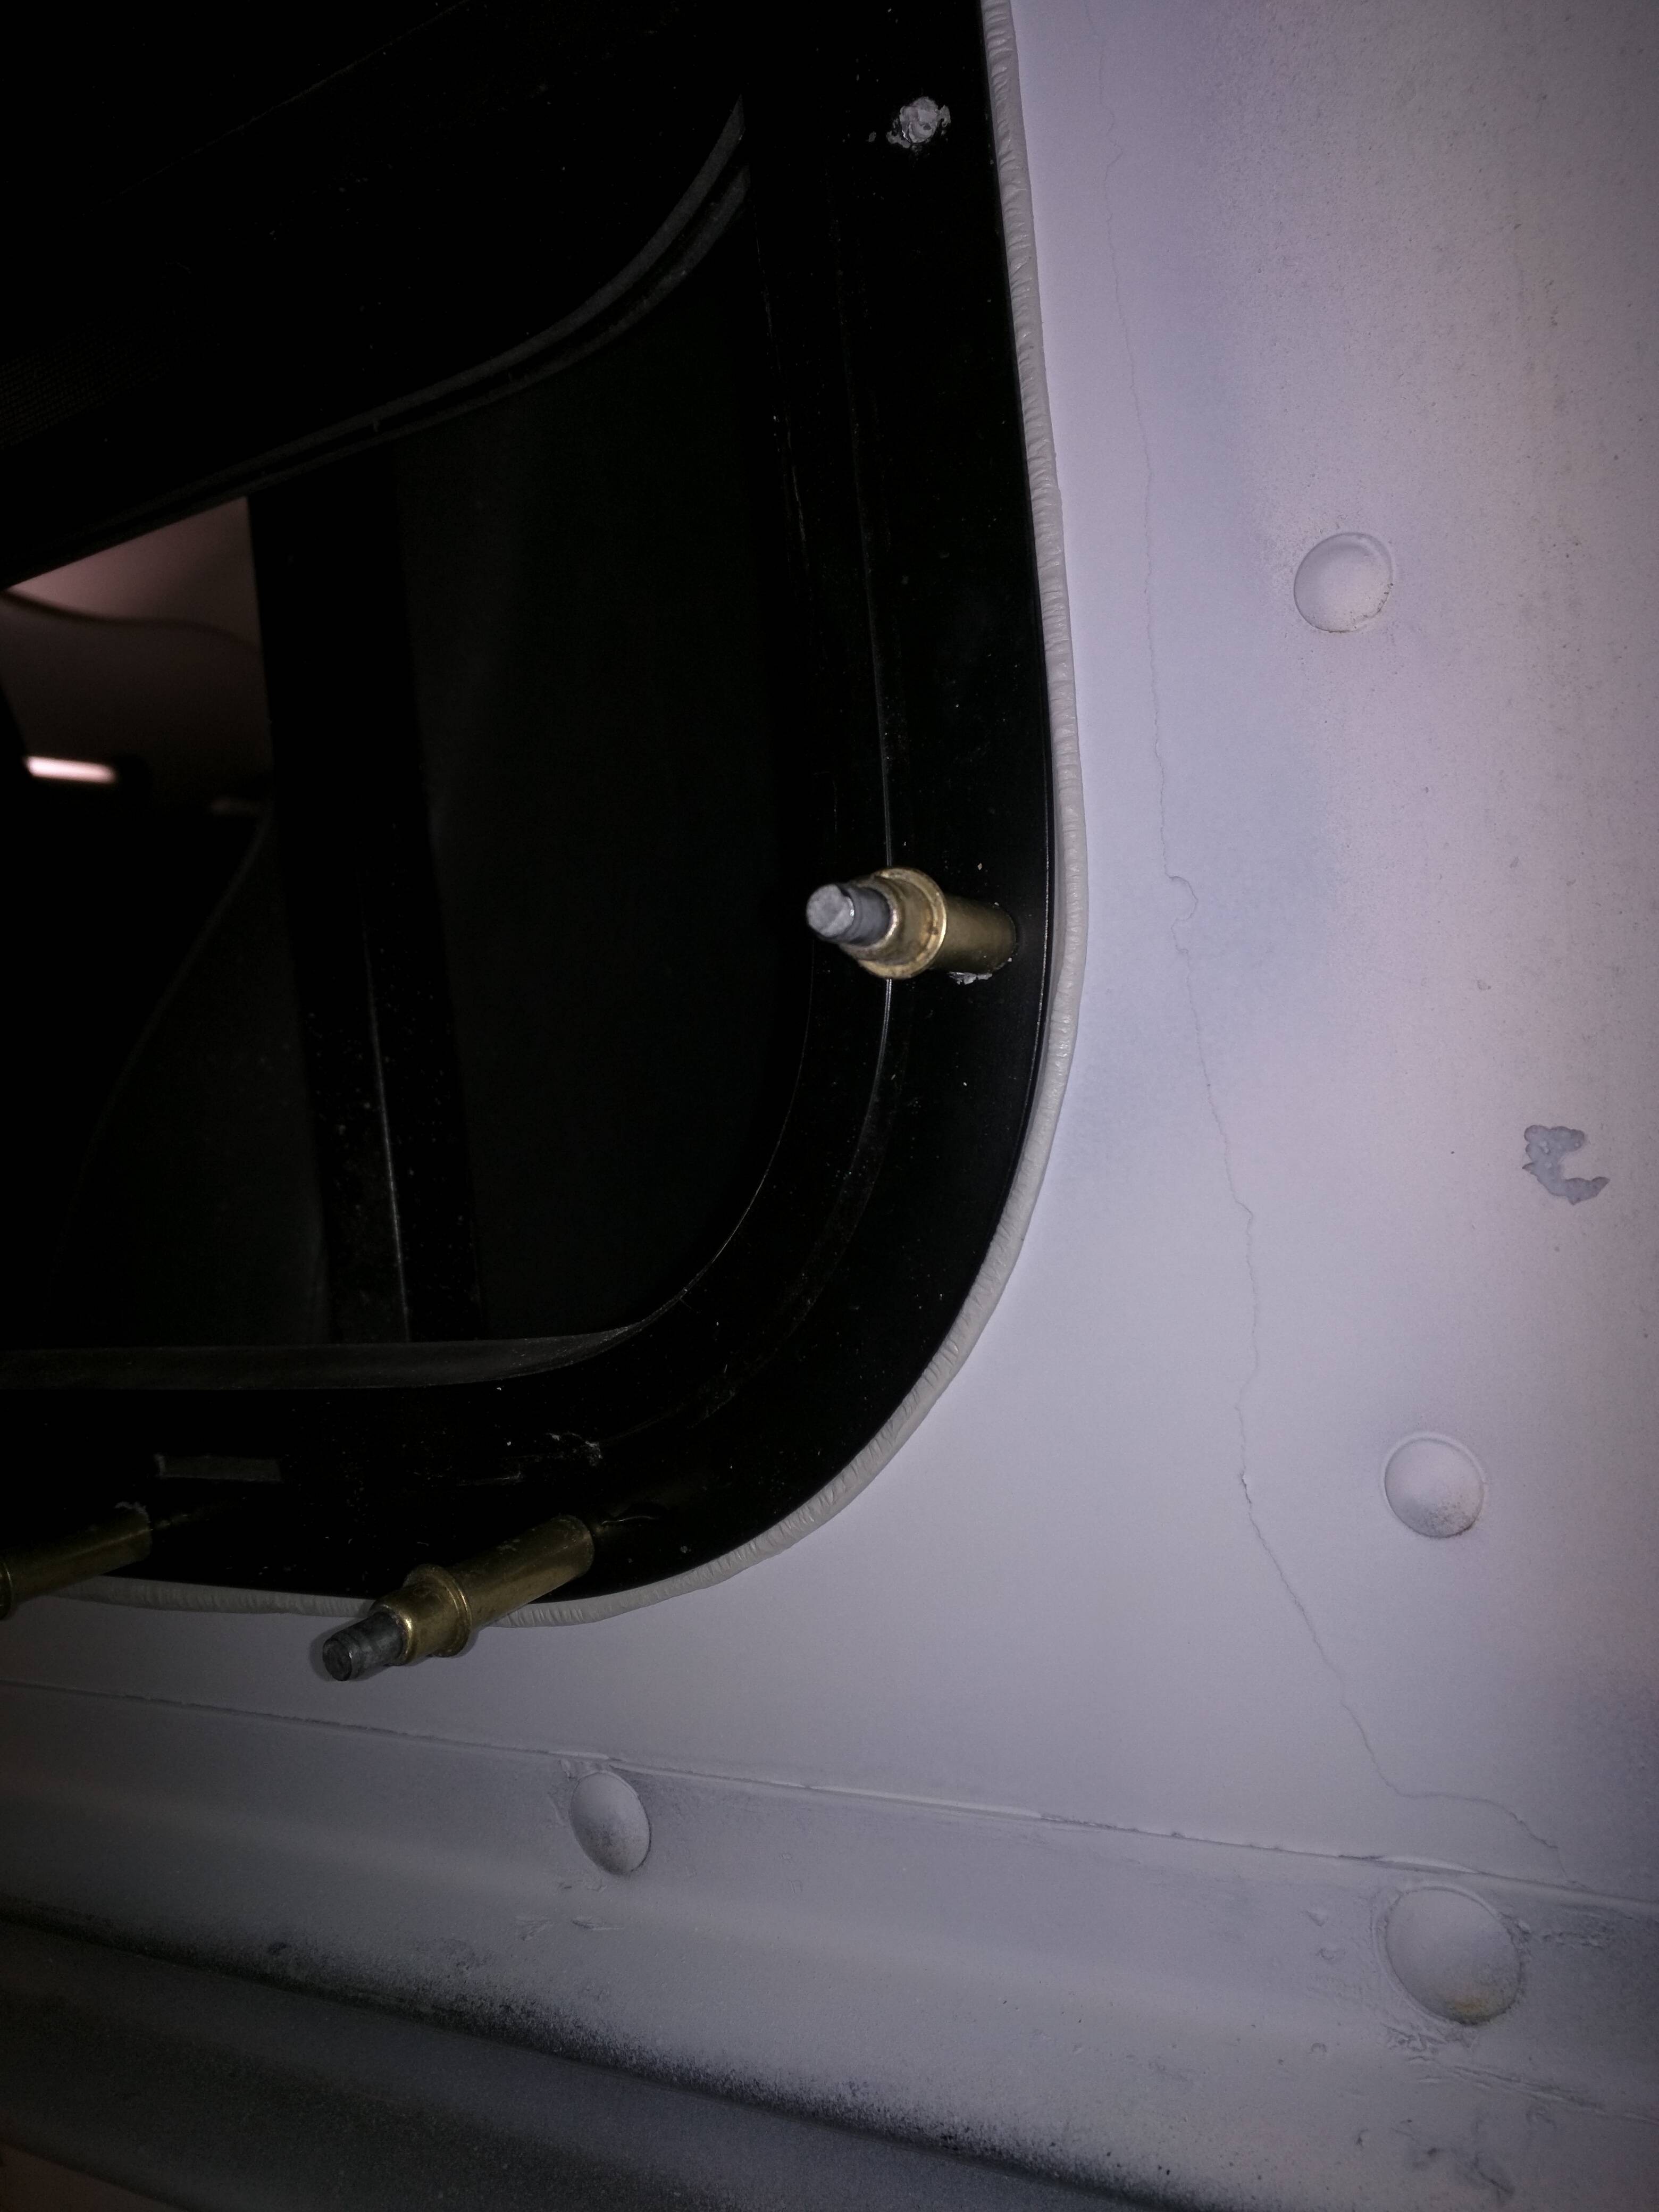
I also believe that riveting the frames is a lot stronger, which is befitting of a skoolie.
Note that I didn’t use the beauty washers in the final install because I determined that would be dumb on my part.
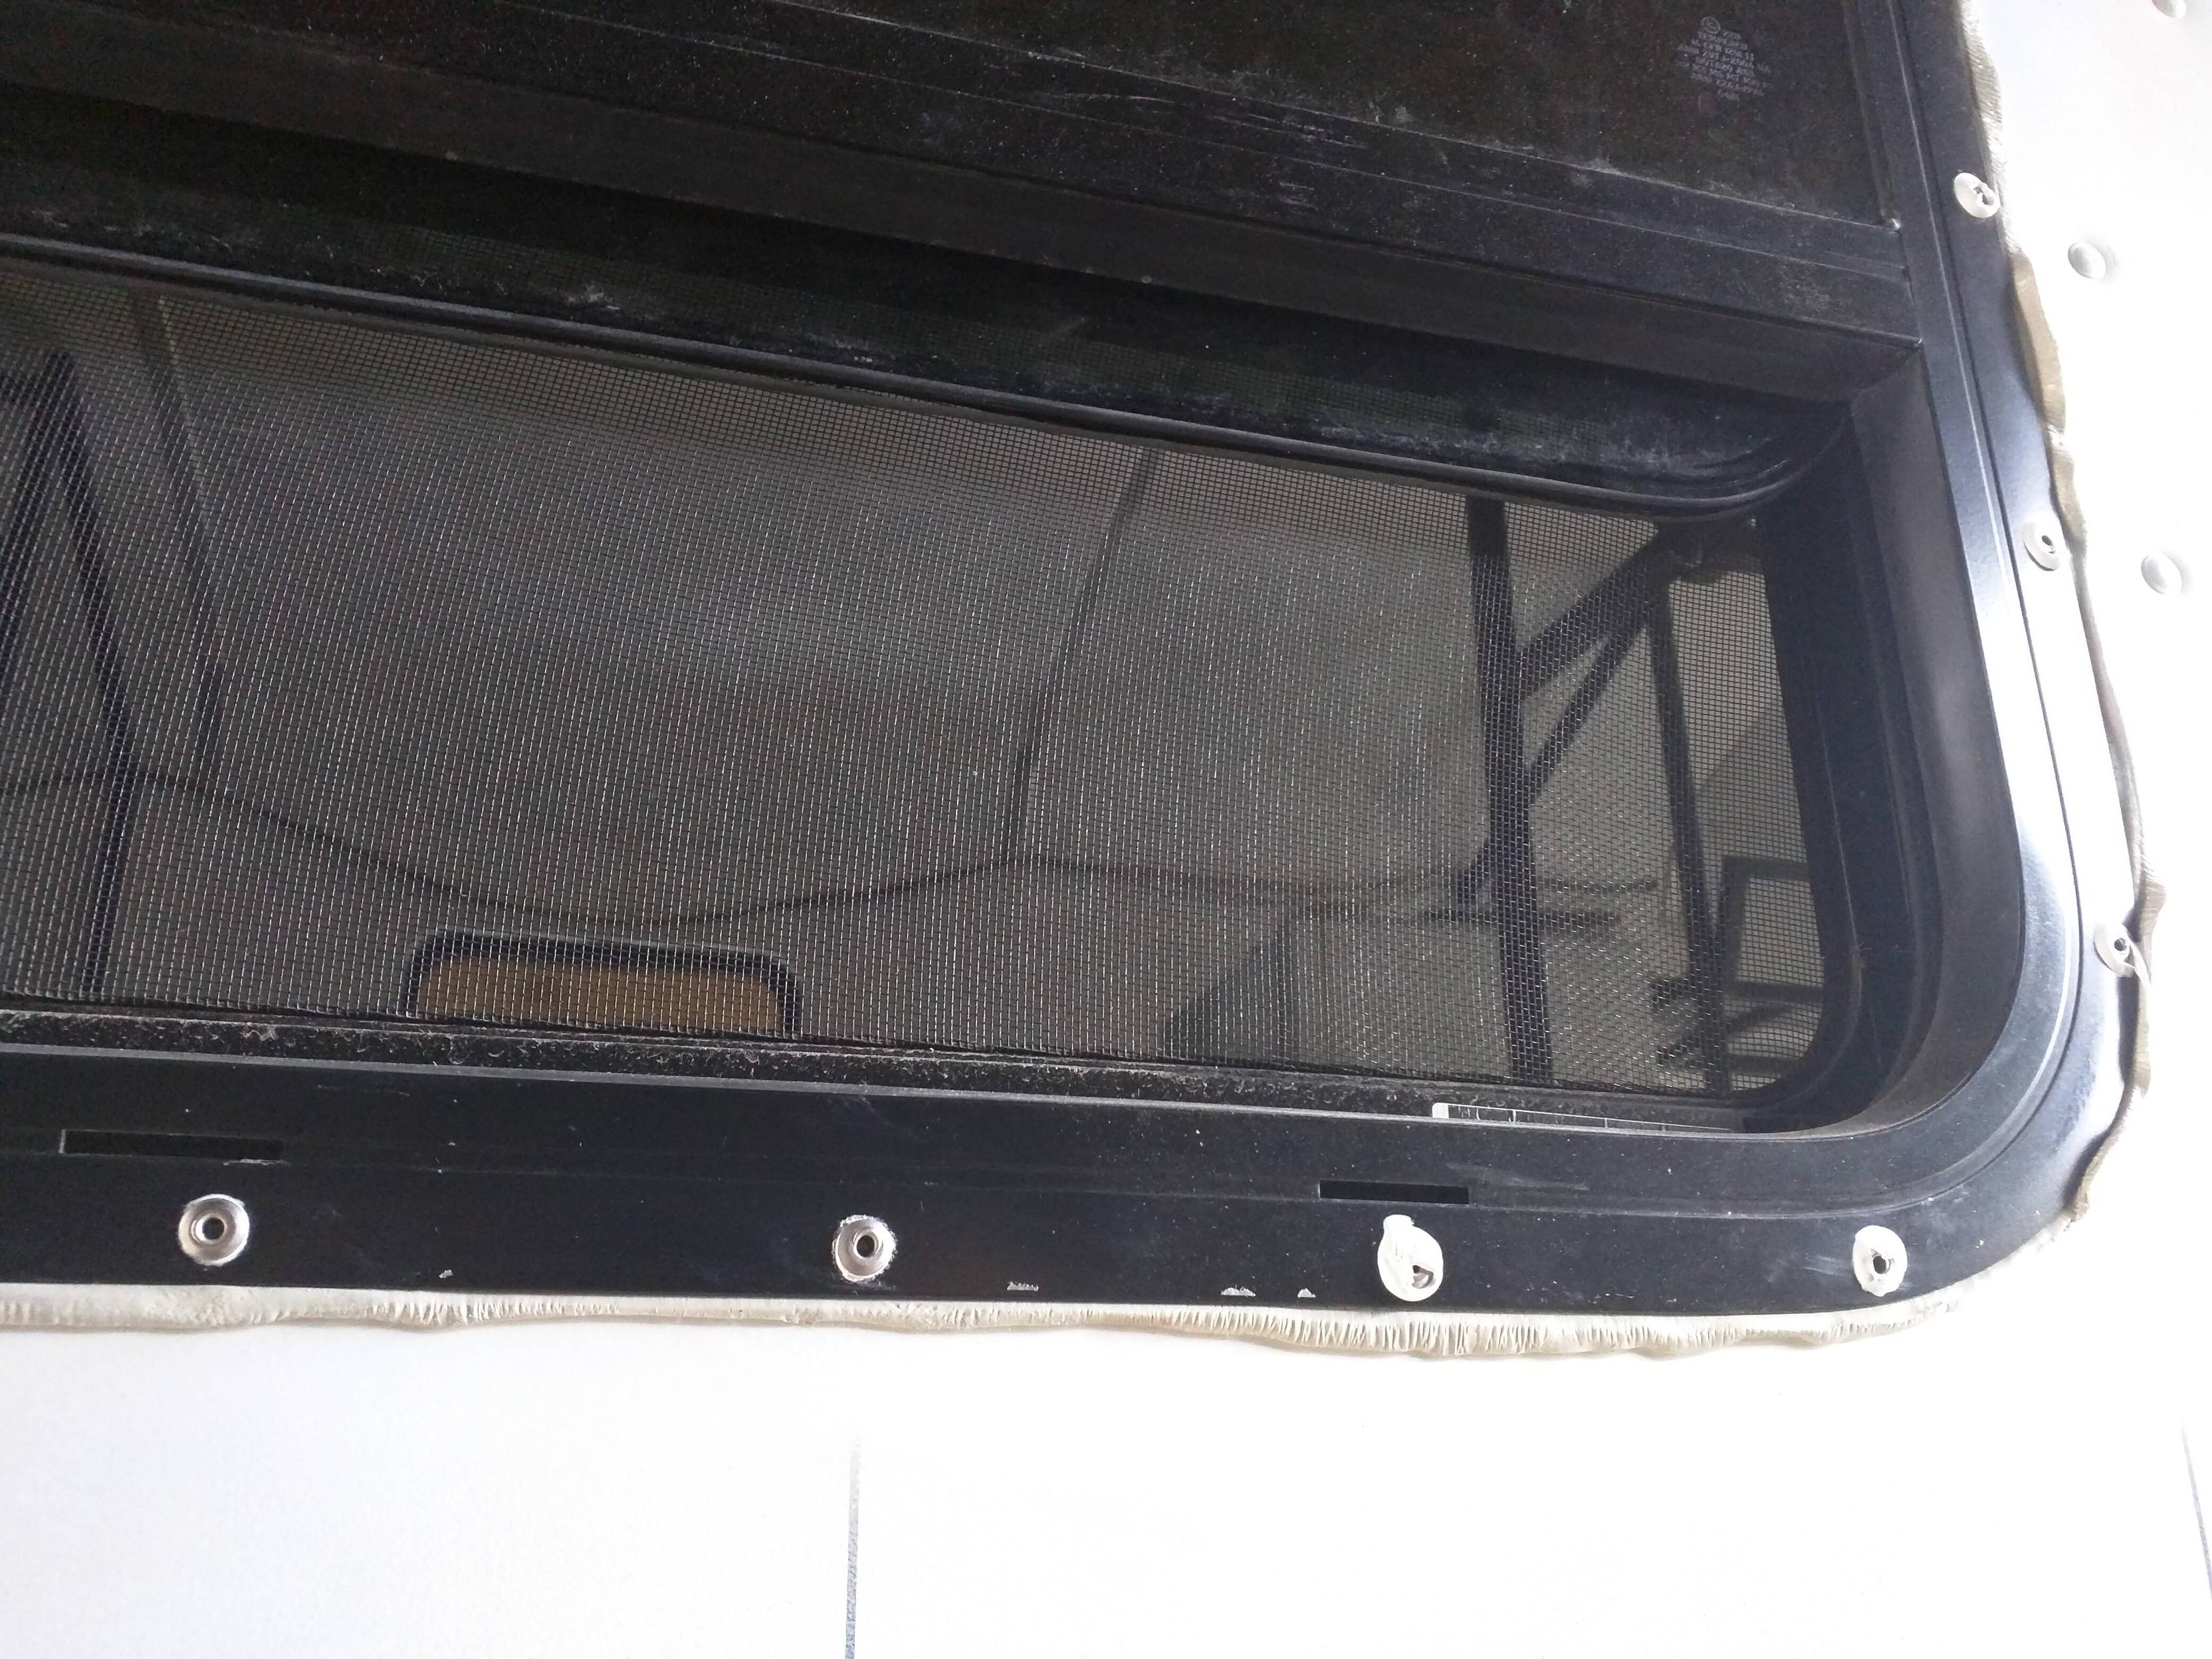
Cut the window hole, these are 3″ radius. Try to always cut a little small. On a few I used a flapdisc grinder to enlarge the hole an additional 1/16″ or so on a couple.
After the frame fits flat against skin you are ready to install.
Mark holes in frame in a pleasing and mechanically sound pattern. Make sure your holes are to the outside edge enough.
Drill holes in frame, while not on vehicle.
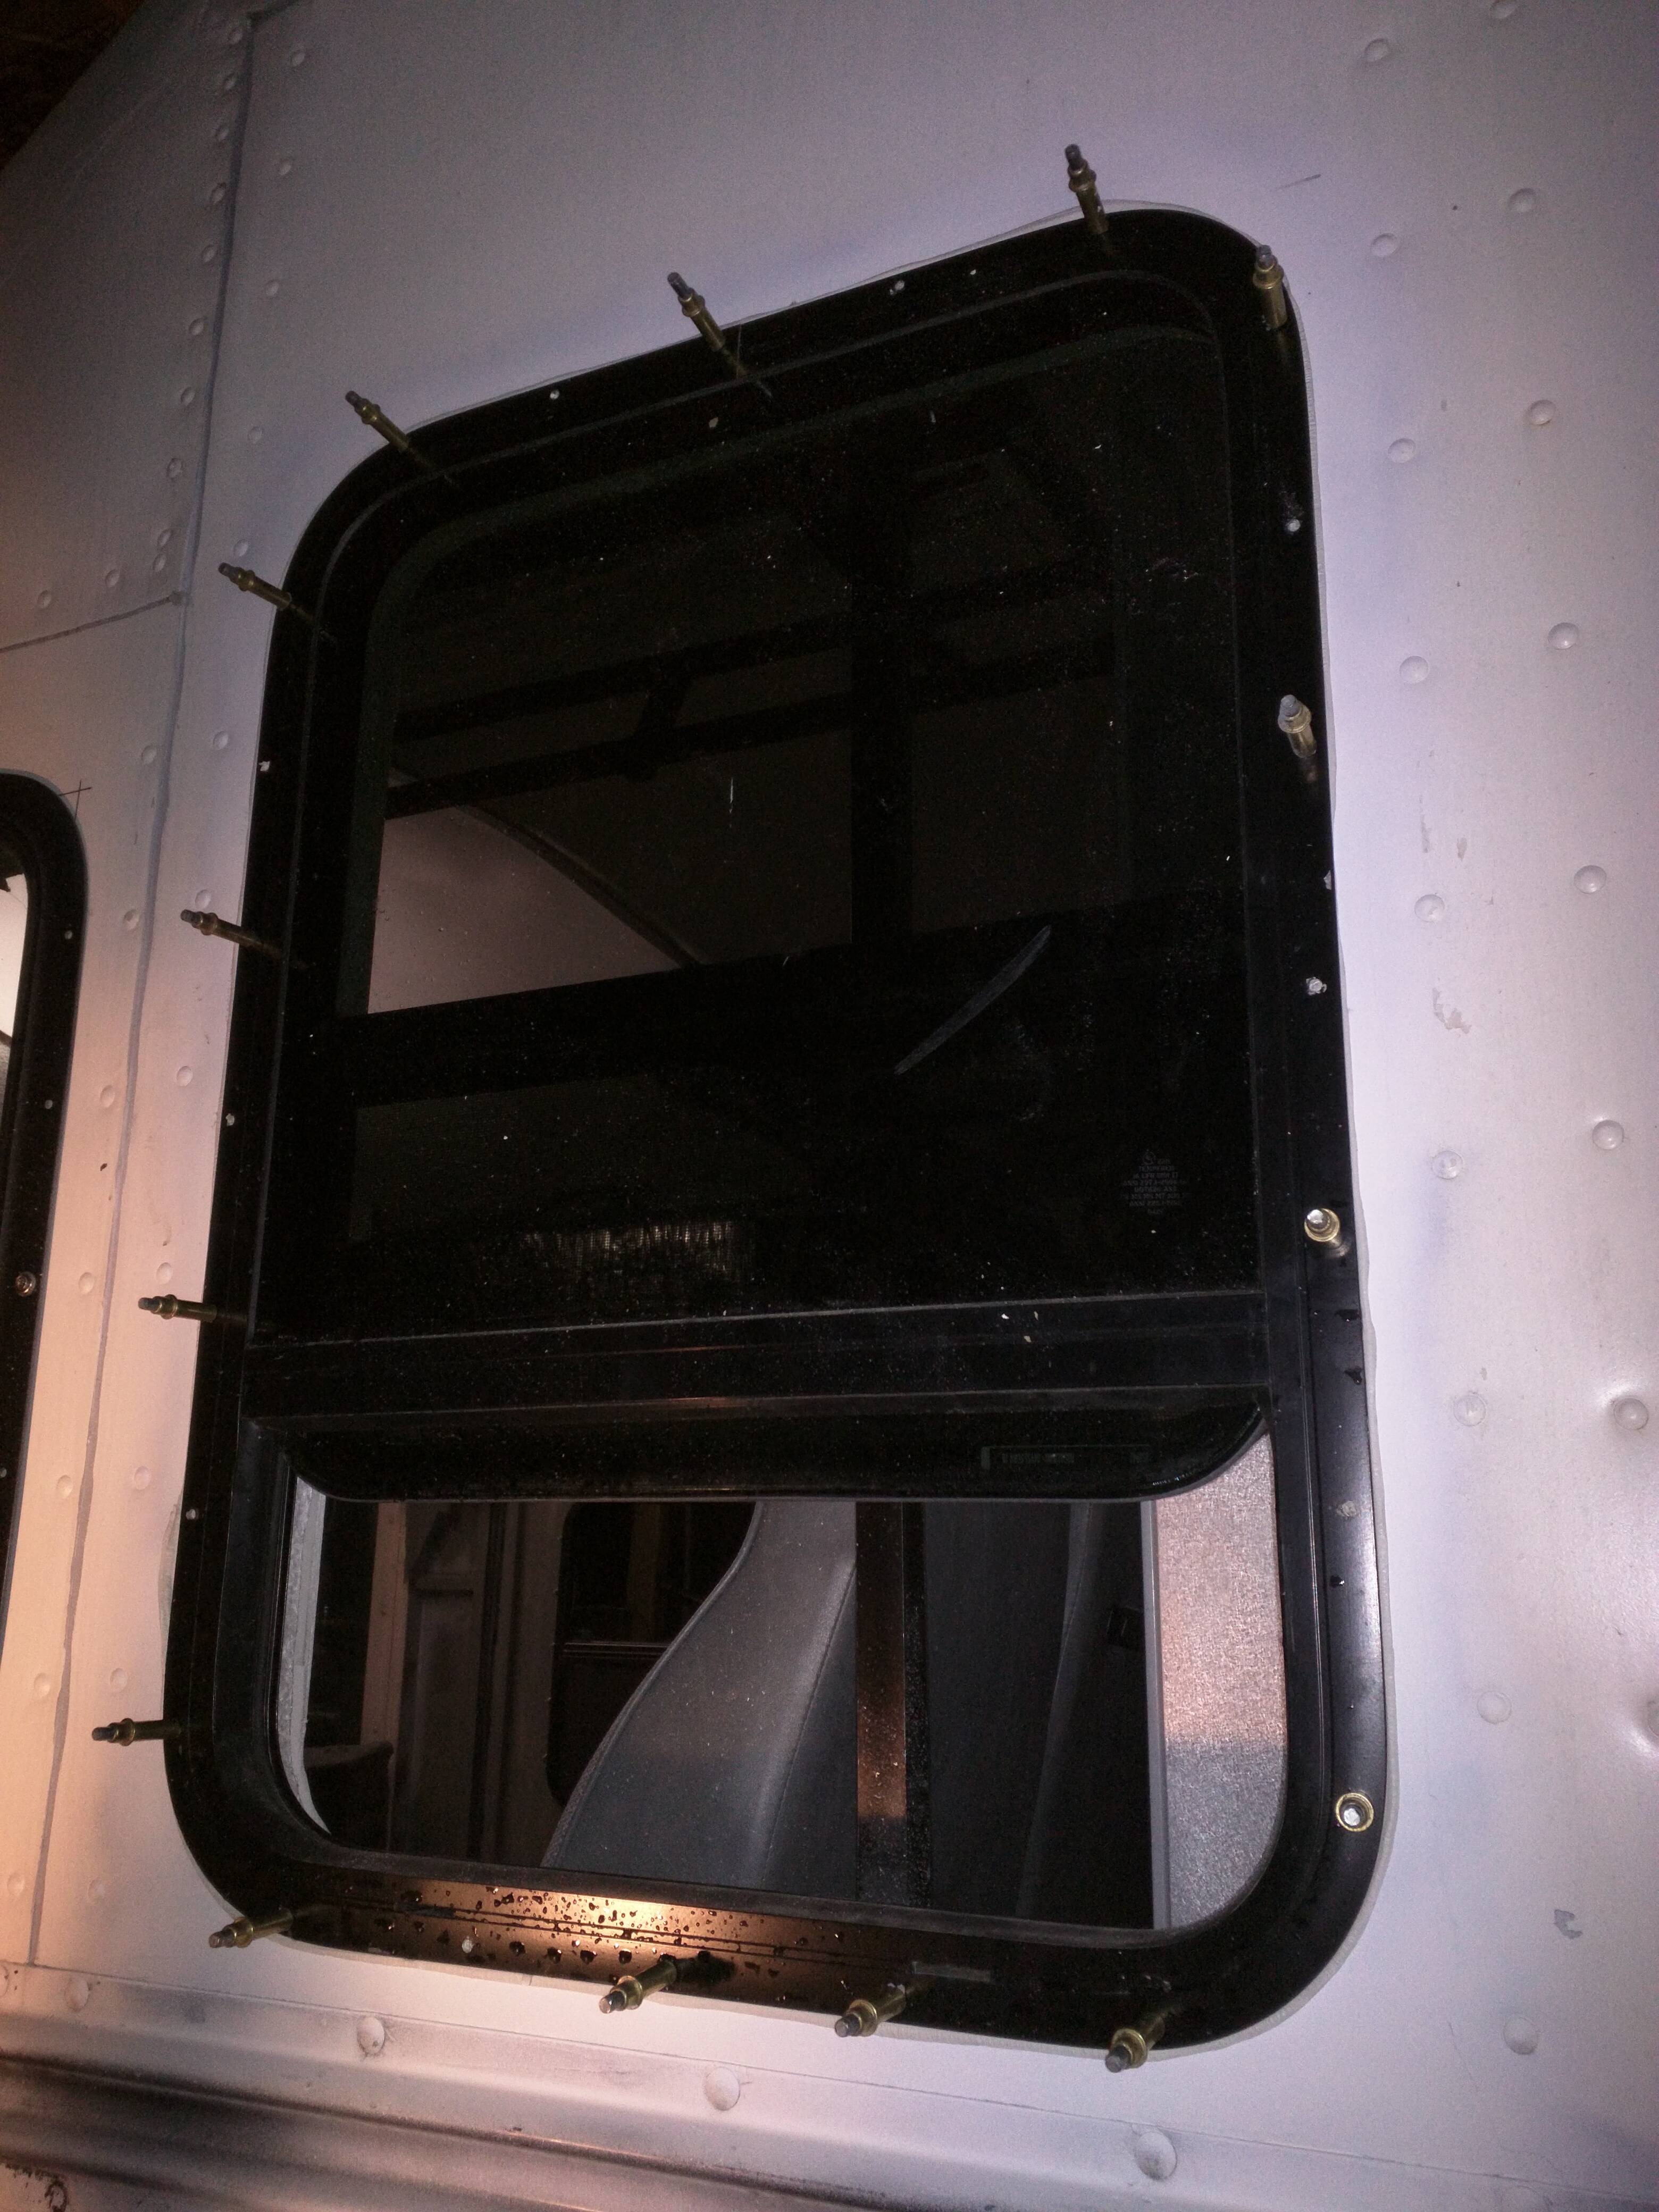
Place window in hole (now with mounting holes drilled in frame)
Check alignment around hole so you catch the steel on all sides.
Using existing frame holes, drill the top and bottom ones through vehicle, and hold window in place with clecos.
Continue drilling the rest of the windows, adjacent to your last clecos until done. That way alignment is close.
Pull window out again, and prep window frame with butyl tape. It should cover the entire flange of the frame.
Prep vehicle side by ensuring paint is clean and defect free. Use some zinc cold galv spray from inside and coat edge of sheet metal and each hole drilled. Let it dry (just a few min)
Place window in hole with butyl tape, it will stick so make sure its right.
Reinstall clecos to hold window in place.
Wait 10 minutes. The clecos will apply pressure to the window frame against the butyl tape, squeezing it out. This ensures a positive seating without gaps. Do not rush.
After butyl oozes install rivets. I used a sealing/anti galvanic compound swizzled onto each rivet grip. Install rivets.
If you didn’t spring for expensive waterproof rivets, let everything dry up a bit and clean it well (remove excess butyl and rivet sealant) then seal the hole of each rivet with something robust, like sikaflex.