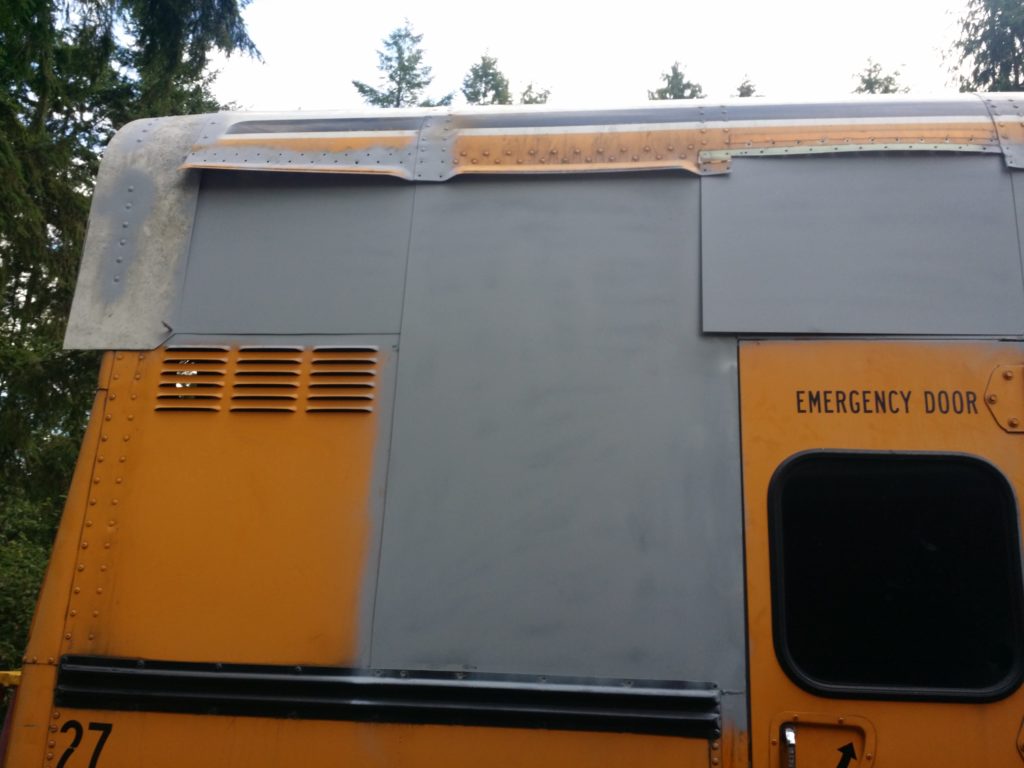
Detail view of the various panels ready for rivets. The basic idea here is follow the same rivet placement that the factory did, which was I think every two inches, on each rib flange.
The weather is already starting to change in September, so there’s that feeling in the air every day to get a little bit done before the rain comes and starts messing stuff up.
Warning light holes aren’t filled yet, but they will be soon.

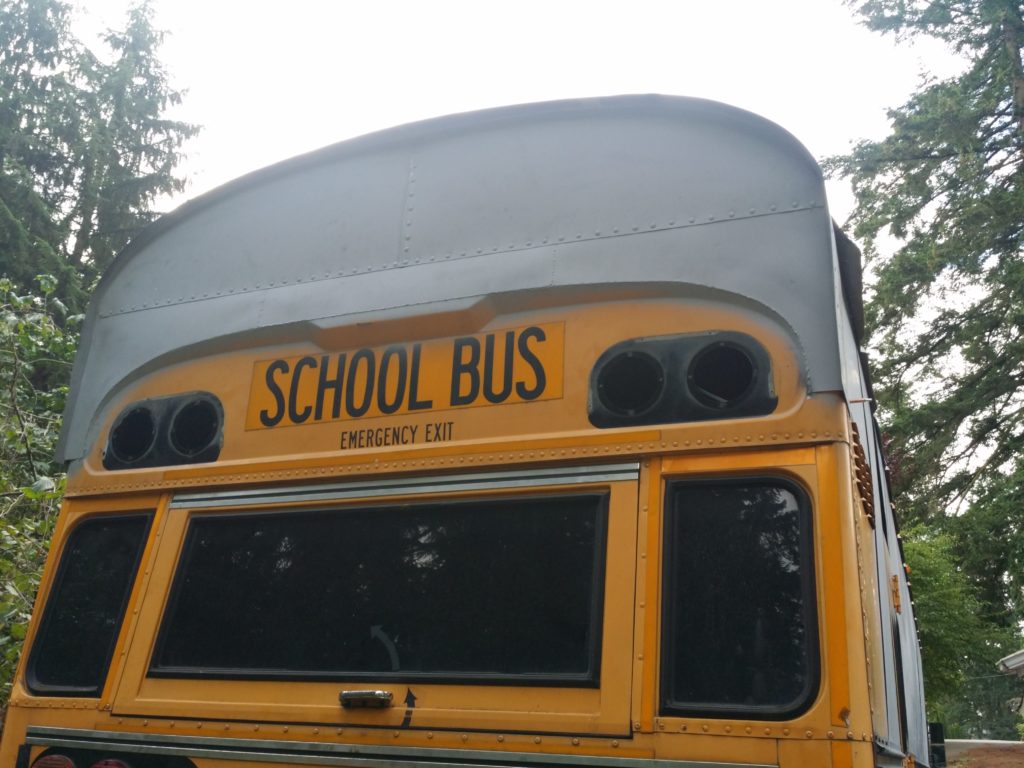
The rear cap was one of the first things to get riveted together. Since it is structural, and has some backing behind it, larger 1/4″ rivets were used with extra large heads – similar to the rivets for the rub rails. The upper seam on the “punch in” of Bluebird bus headers was seam welded to the transition panel. Lots of cold galvanizing sealant paint is inside the gap on the inside.
Not a lot of photos of the actual riveting process were taken. It was a pretty large job, and I had several helpers with bucking, drilling, and logistics.
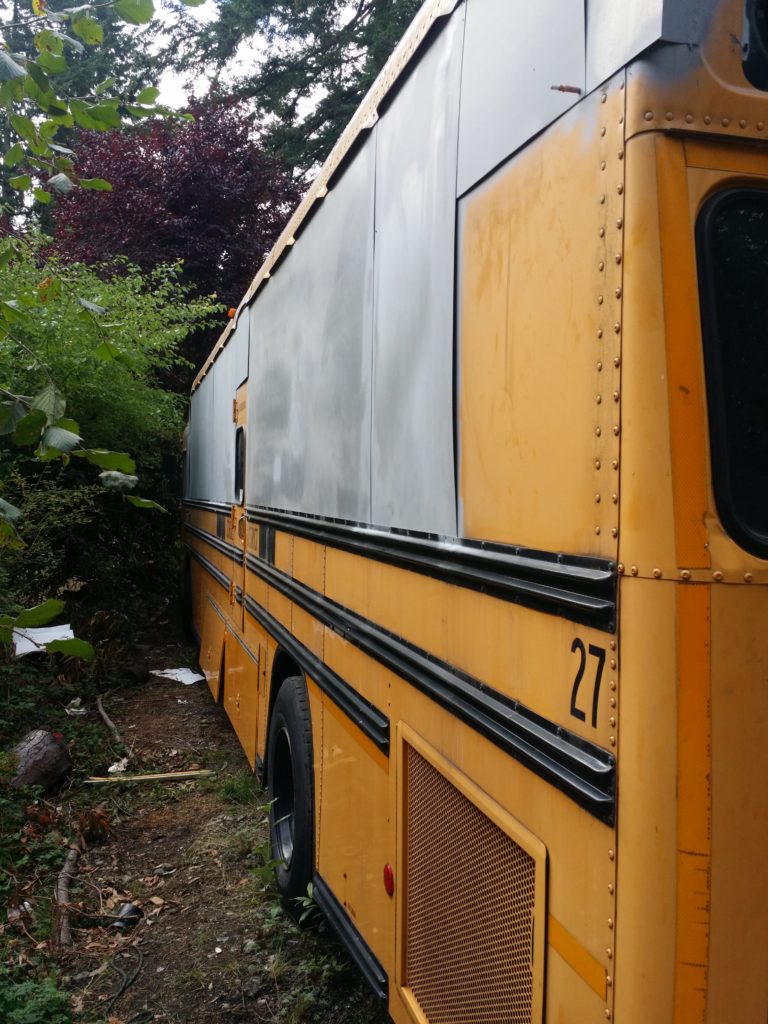
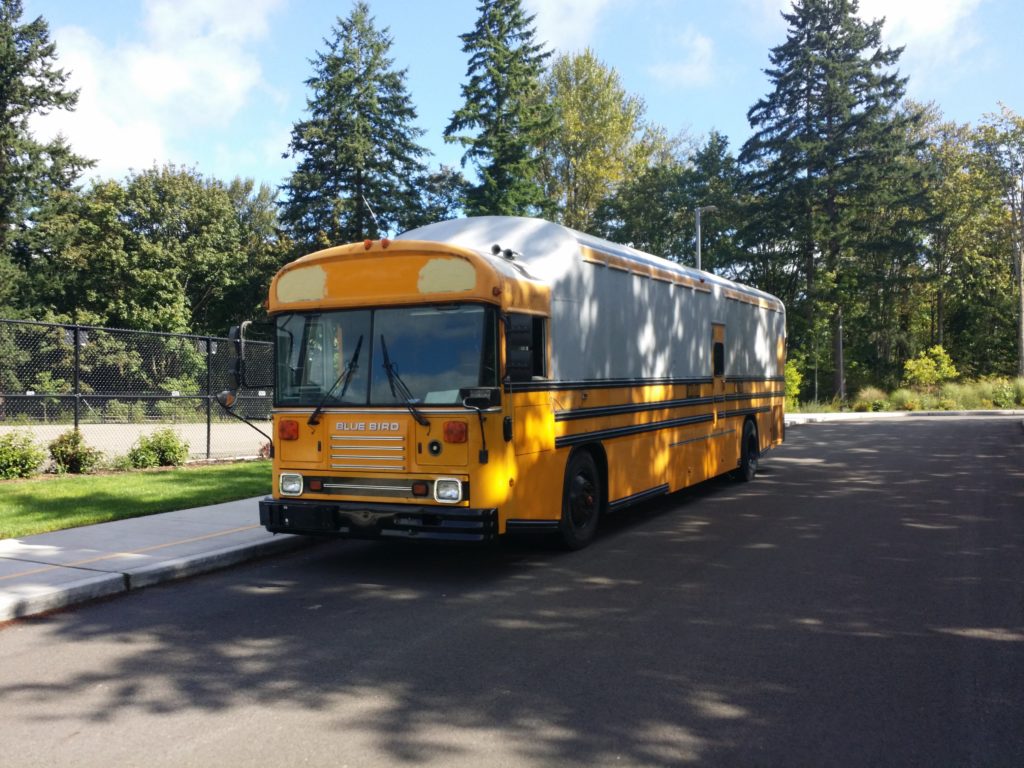
Once all the rivets were driven, and I could put those tools and processes behind me, I was able to take the vehicle for a drive again. This was the first time it had been driven since I had parked it as a regular school bus. It looks SO much bigger after the roof raise!
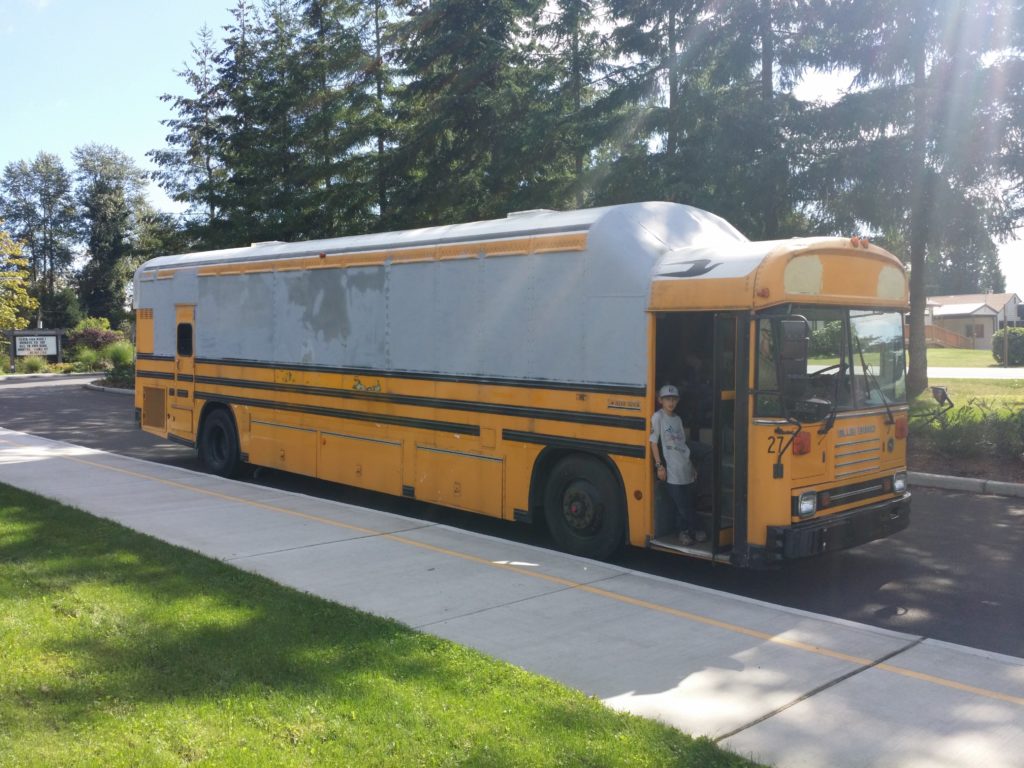
Our neighbor’s kid Joe Jury lounging at the door. We are parked at the school bus pickup at the grade school down the street. The irony being that Joe is home schooled.
Here is the crew that helped during the riveting process. Not shown is my wife who took the picture. I’d like to add that Cory was taking classes to work at Boeing as a machinist, so he had lots of knowledge about riveting already – I learned a lot about the process doing this.
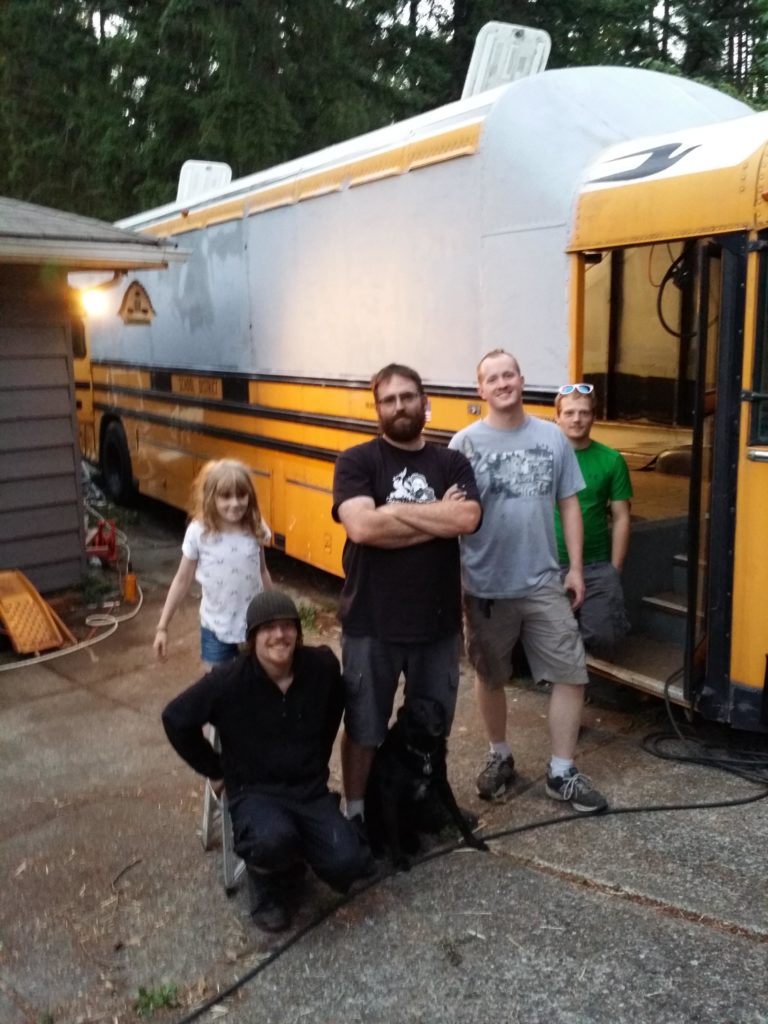
L-R: Ava, Nick Wekell, Me, Cory, Chris Wekell. Thanks guys, wherever you are at!