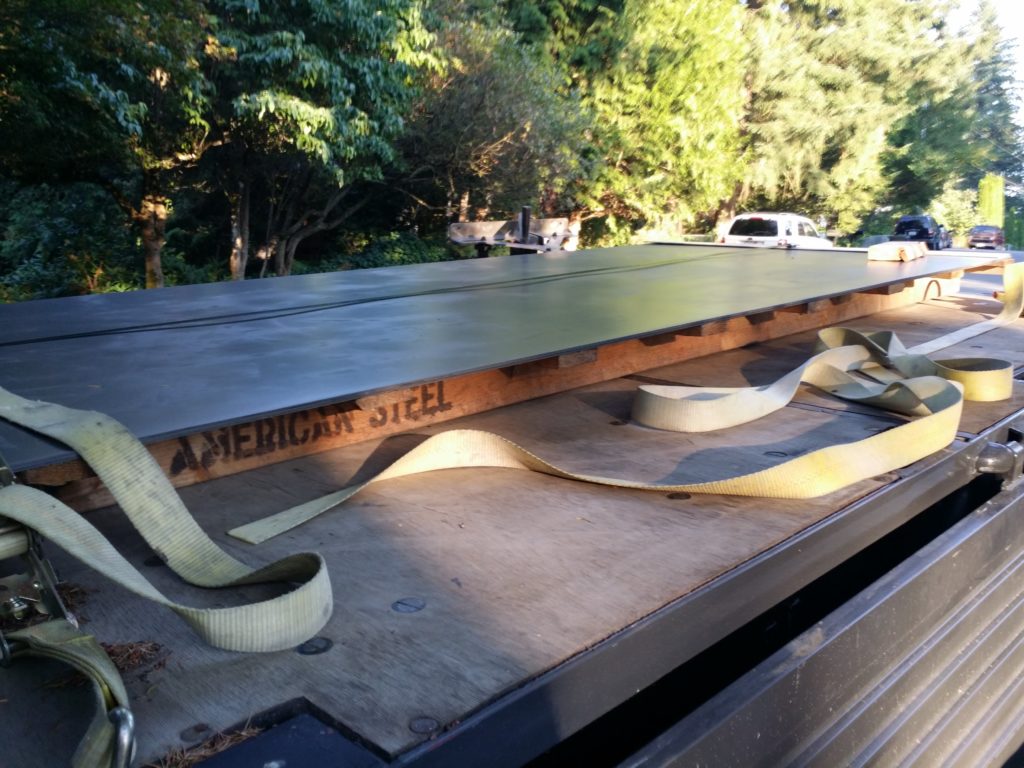
9 sheets of 4’x10′ 20 gauge sheet metal. They’re cheaper when you buy a bunch at once.
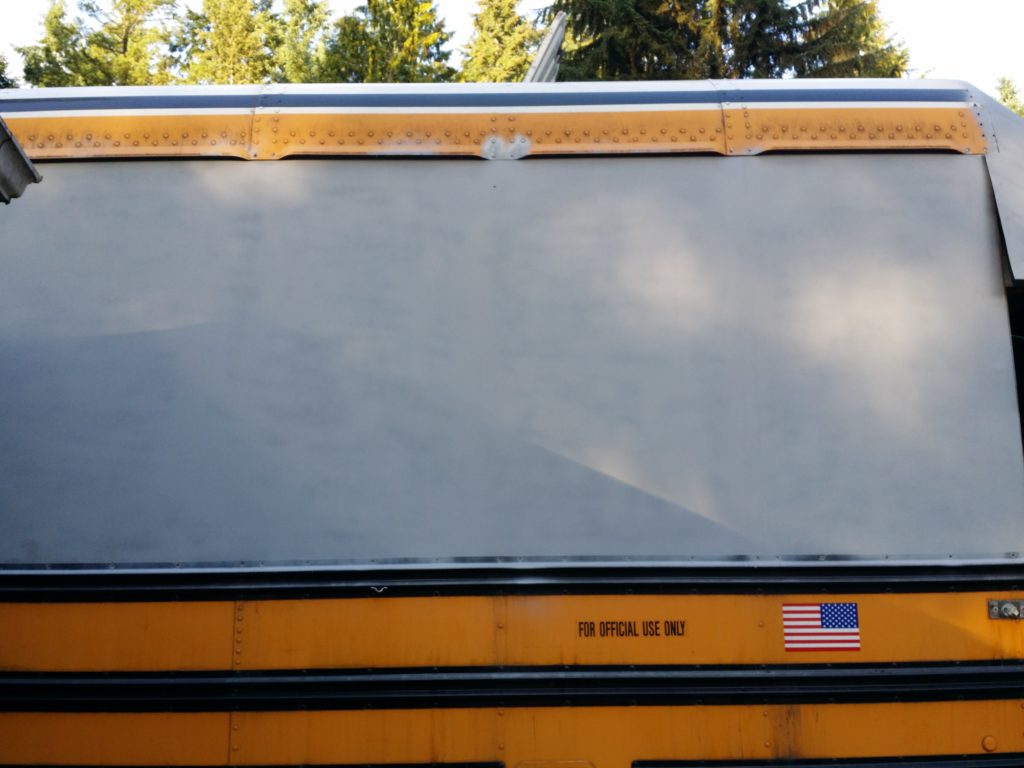
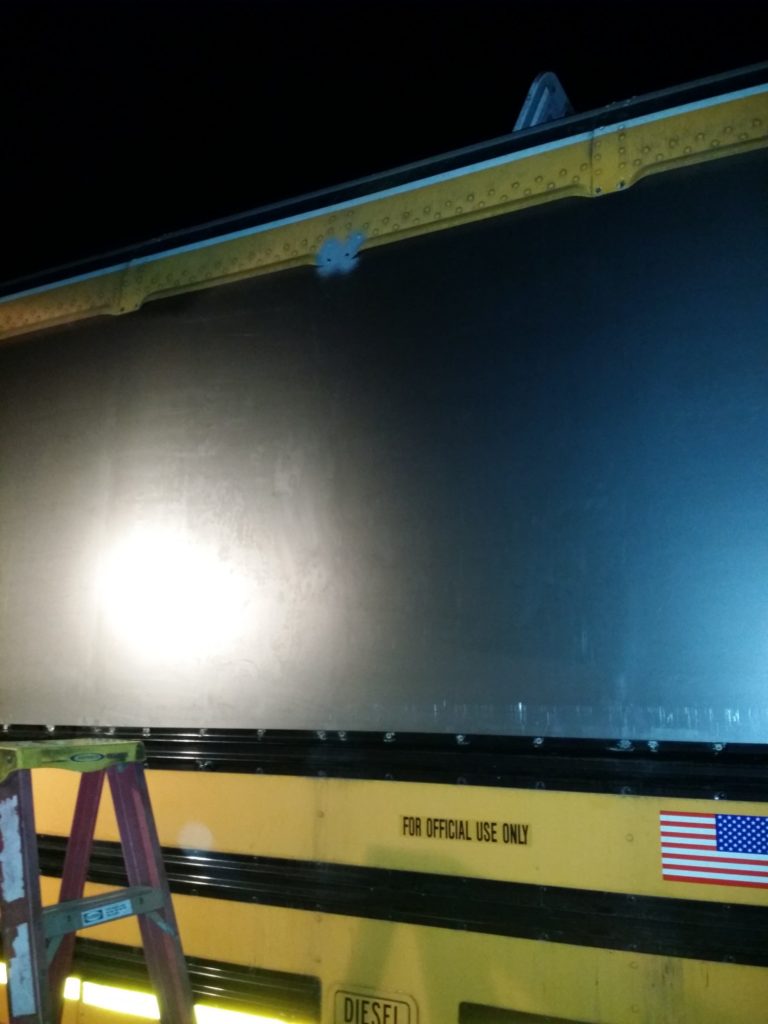
Picture of the first sheet hung on the side. It’s just held with two rivets, but tucked under the proper roof parts for further fastening.
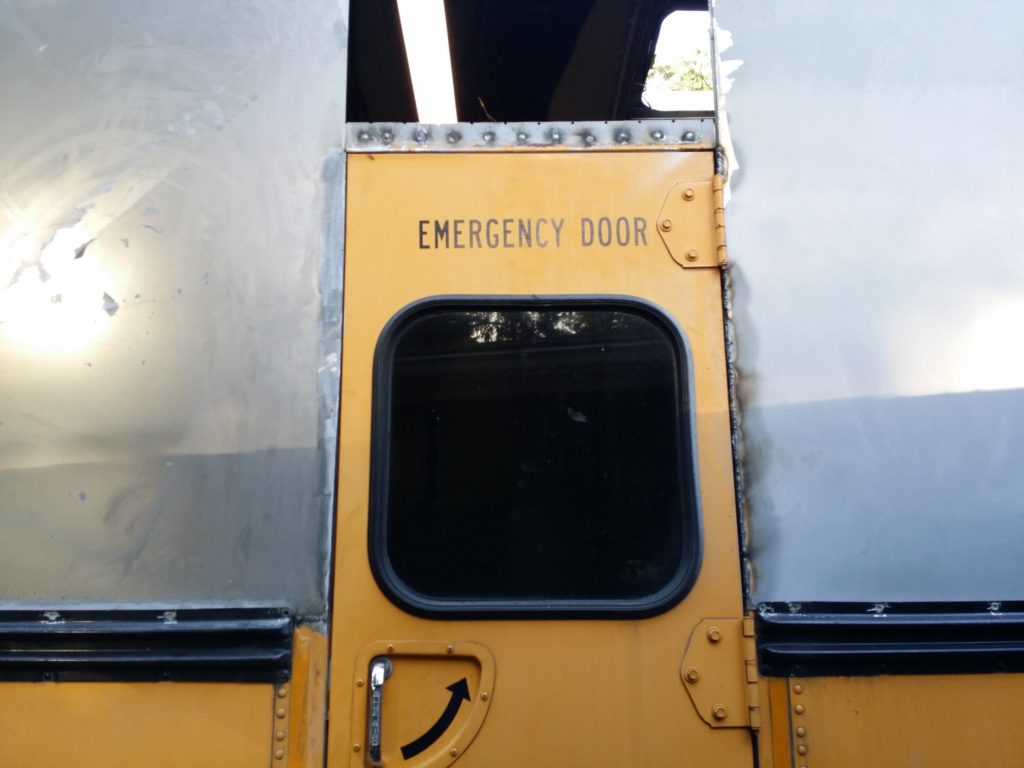
To be honest, adding the sheet metal was pretty straight forward stuff. Measure, cut, hang square. One of the decisions I had to make was seam welding some of the sheets to the frames of the emergency exits.
Originally, the body sheet metal was riveted via short little panels that went between the windows. Since I wasn’t using those any more, and I didn’t really have the ability to make nice brake edged panels, I sort of reverted to old techniques that I’ve used for assembling body panels on more conventional vehicle chassis.
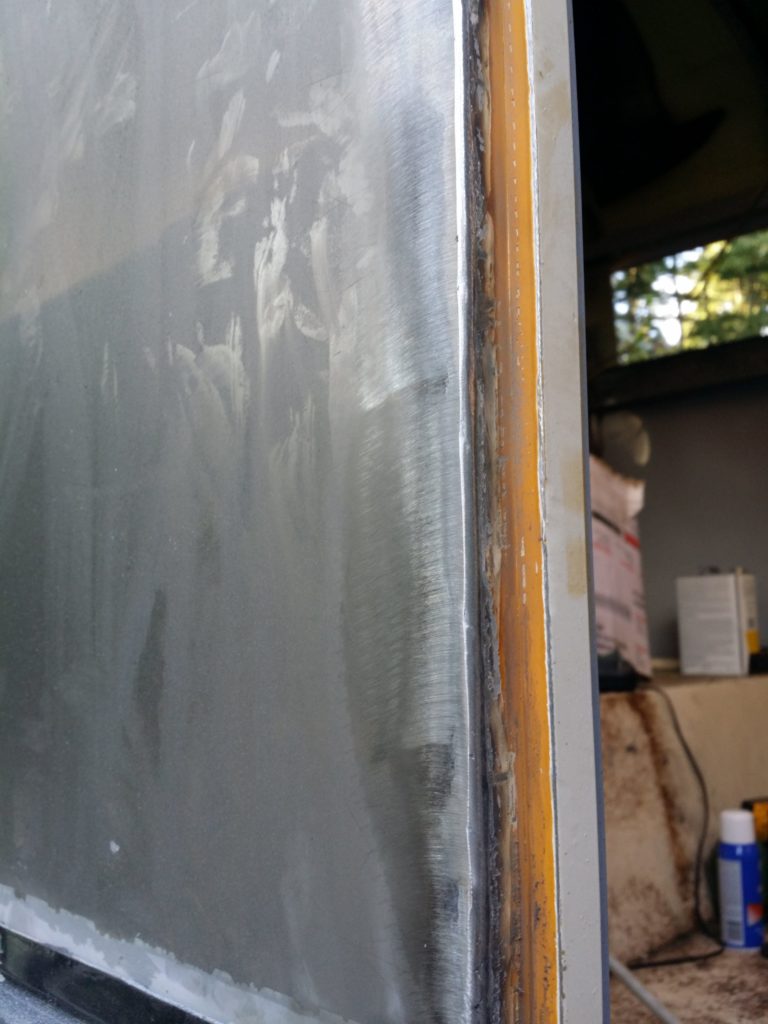
Here’s a picture of the panels hung on the chassis. In this photo all of the mating surface seams are coated with zinc cold galvanizing compound, and the surfaces themselves have VHB tape strips between the sheet metal and the ribs to keep things relatively in place, and provide a sealing material once more rivets are driven into the panels.
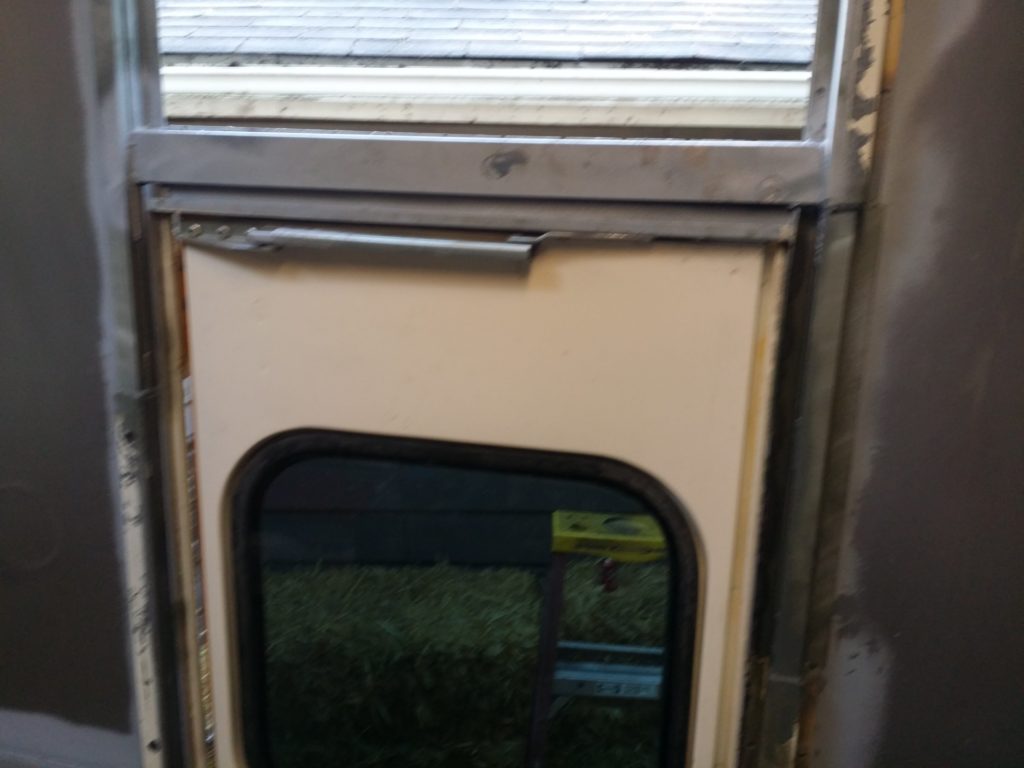
Detail of the rear right exit door frame. The original frame of course has moved upwards 18 inches, so a new square tube section replaces it.
Detail view of the paint seam coating, as well as the small trim metal pieces that close the gap from the outside “eyelids” on the original roof. These small angle parts are galvanized roof flashing (re-purposed here of course) and the very ends have small gaps to allow a bit of air exchange, much like soffet vents in a house roof would work.
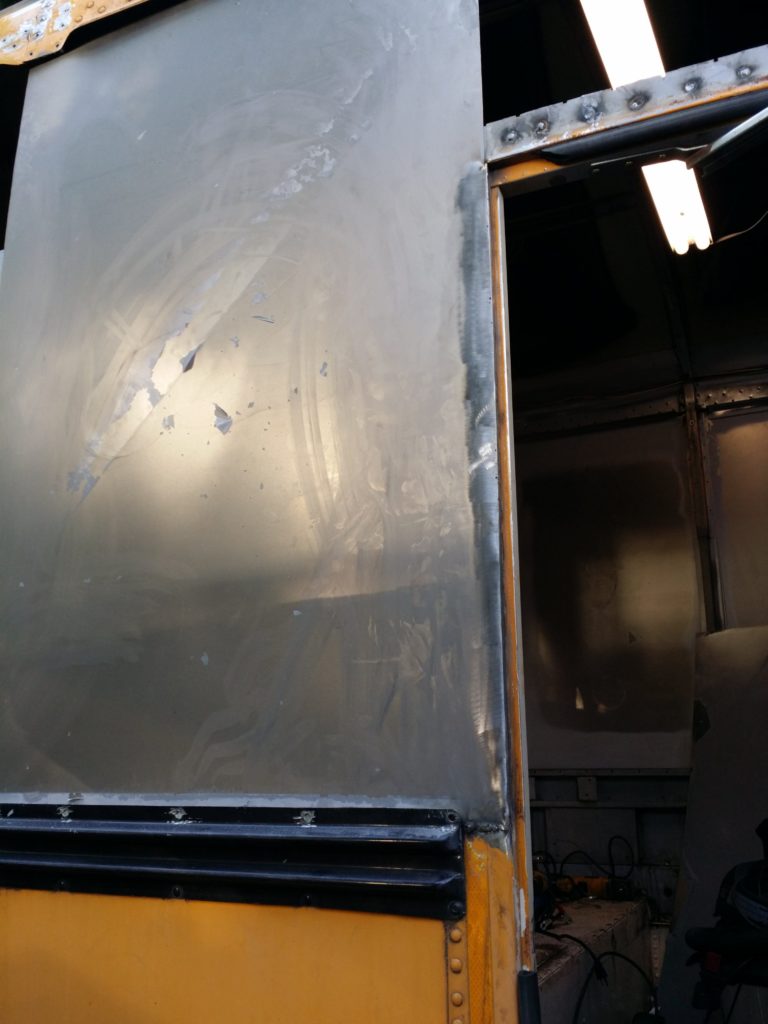
Detail of the panel on the outside. The crusty appearance is the terrible primer that I tried spraying on and then later wiped off. Plug welds across the original door frame on the right fix it to the square tube backing.
View of the door as it fits, before adding the small header sheet.
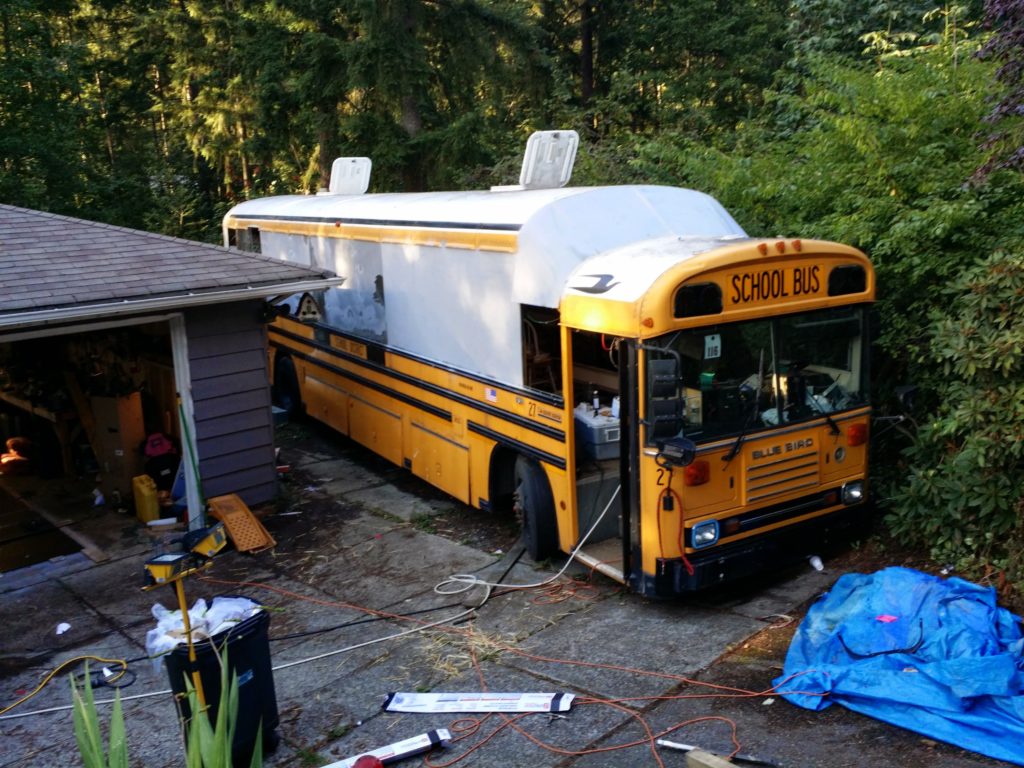
Overall view of the bus as it starts to gain it’s paneling. A lot of this went up in some crappy August weather.
Still some panels missing, but getting there quickly.
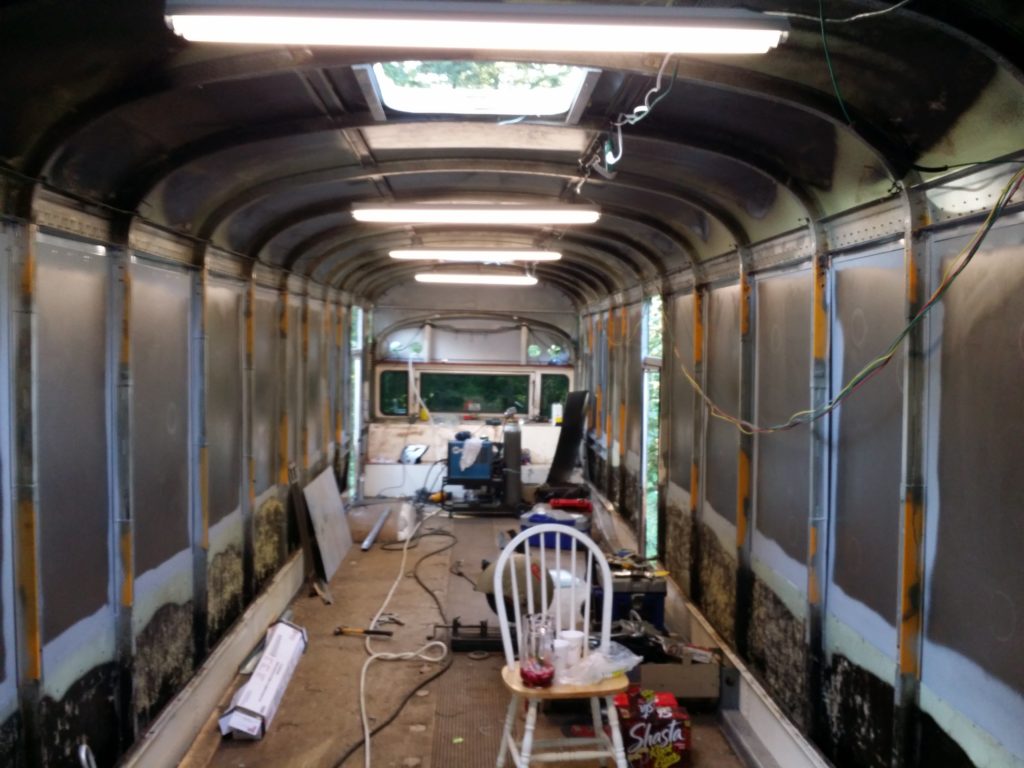
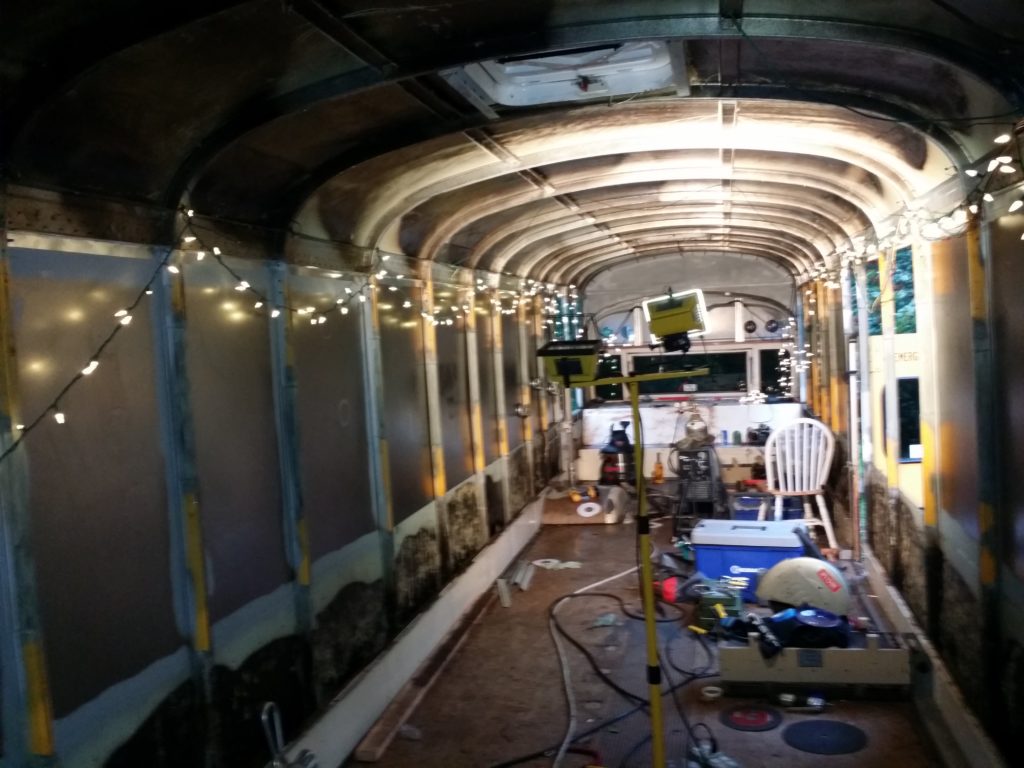
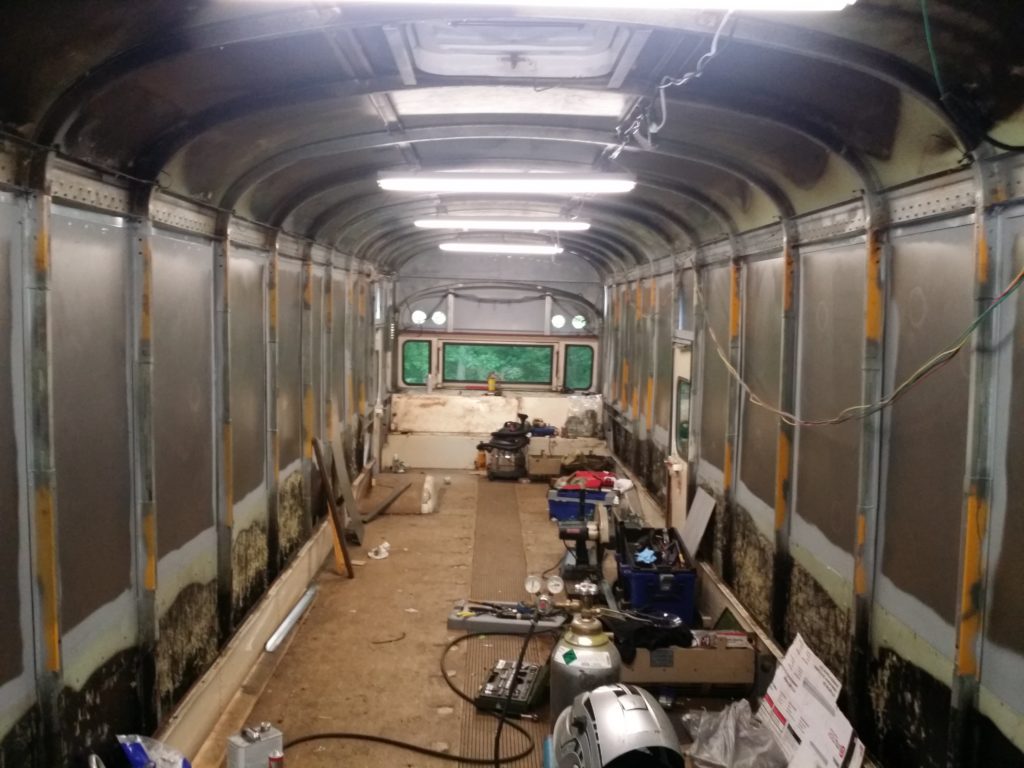
Interior glory shot of all the panels “hung” onto the chassis. At this point all the sheet metal is in place, and the remainder of the riveting just needs to take place.
Exterior shot of the panels in place. They are positioned, but still need hundreds of rivets to be installed.