It’s a straightforward translation from high to low, but the patch for the corner gets a little strange shaped. I made a template with cardboard which is way more low tech and easy to do. The drawing below wasn’t something I actually used but illustrates the effort nicely.
Blue tape lines “sketch” in the transition surface.
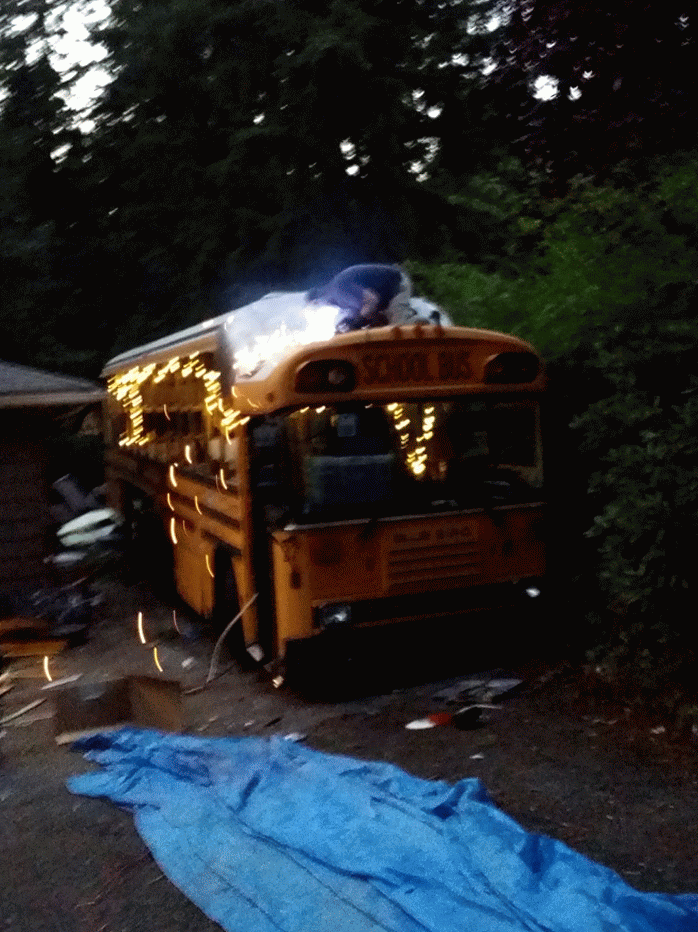
Welding a bit up high.
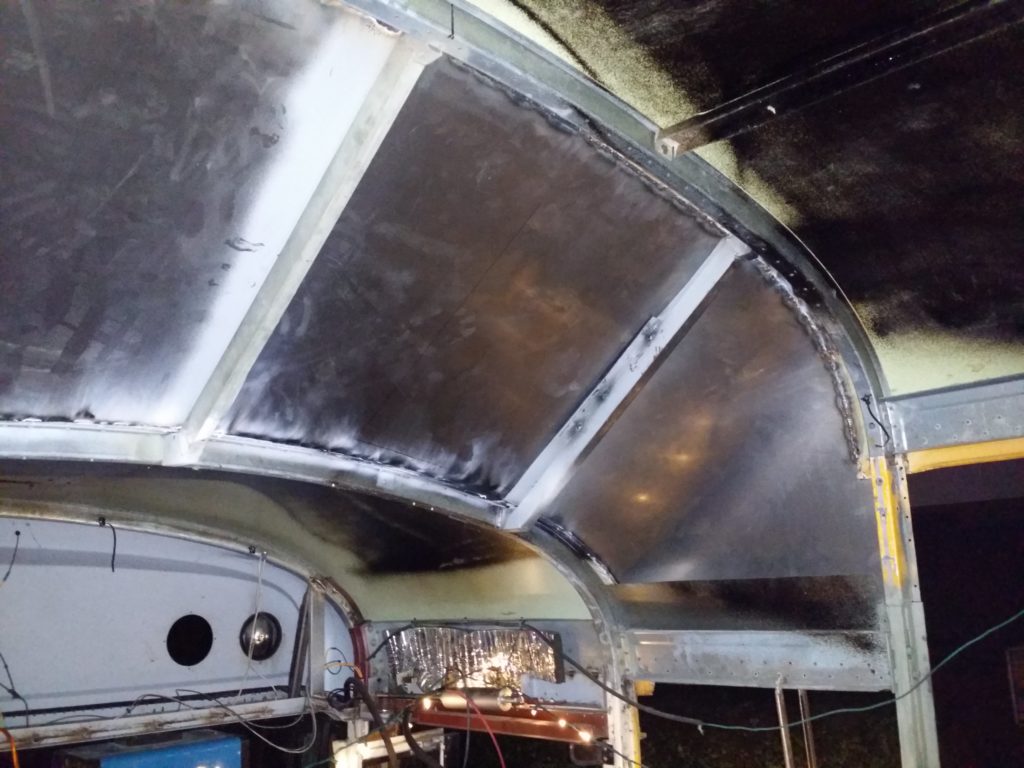
Once the curves were patched in, the center sections were easy to work out.
Patched in sections. I will admit that now that I’ve seen how this goes together, a really slick thing to have done would be to integrate the glass from a rear hatch of some sort of minivan or suv. Another guy, Wes Lewis, did such a thing.
It was a challenge to weld up that high. I ended up balancing the welder on a cooler on the dash, and running the lead out through one of the old upper flasher light holes.
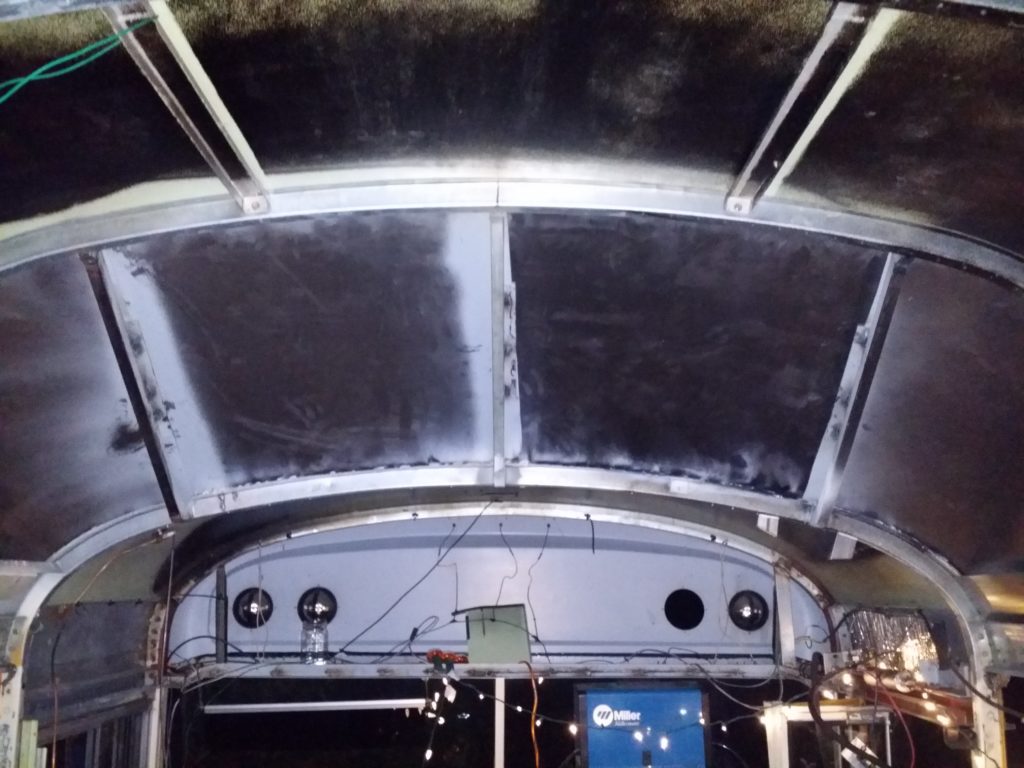
I was happy how this turned out. It’s strong, efficient, and didn’t leak.
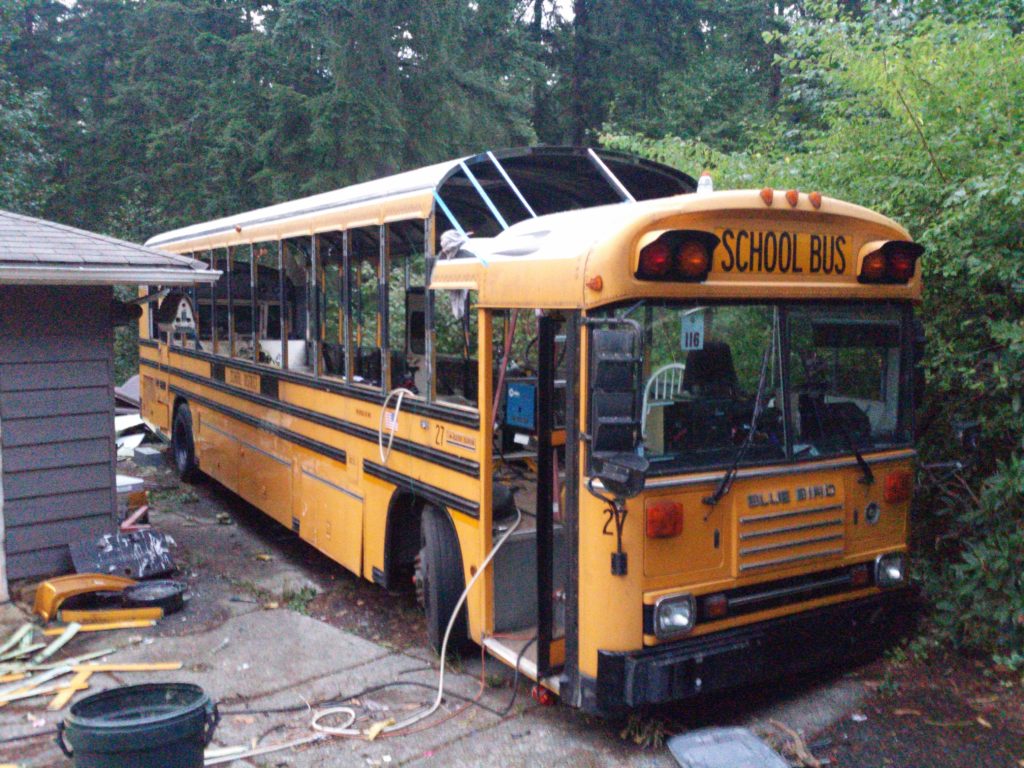
I wasn’t sure at first how much deconstruction needed to happen before adding the caps. It turns out I removed that whole section of the roof except for a 2″ strip to weld to. If someone was crazy enough to do so they could chisel all the rivets off and pull that whole transition cap. I tried to be faithful as possible with what I am capable of to the way the bus is constructed.
I got the bits seam sealed and riveted. Now I need to get the rear cap done. Pretty sure that’s just a bunch of rivets, sheet metal, and sealer so we’ll see.